Browser previews for coding agents
agent-markdown-preview lists recent sessions from Claude Code, Codex, Pi and OpenCode and renders their responses in a browser, with equations, syntax highlighting and diagrams. It reads the agents’ existing session histories, so no agent configuration is needed.
Sessions in the current directory
Run the command in a project directory to open an index of its recent agent sessions. Open a session to read its responses, or choose All sessions (merged) to follow the latest completed response from any session in that directory.
agent-markdown-preview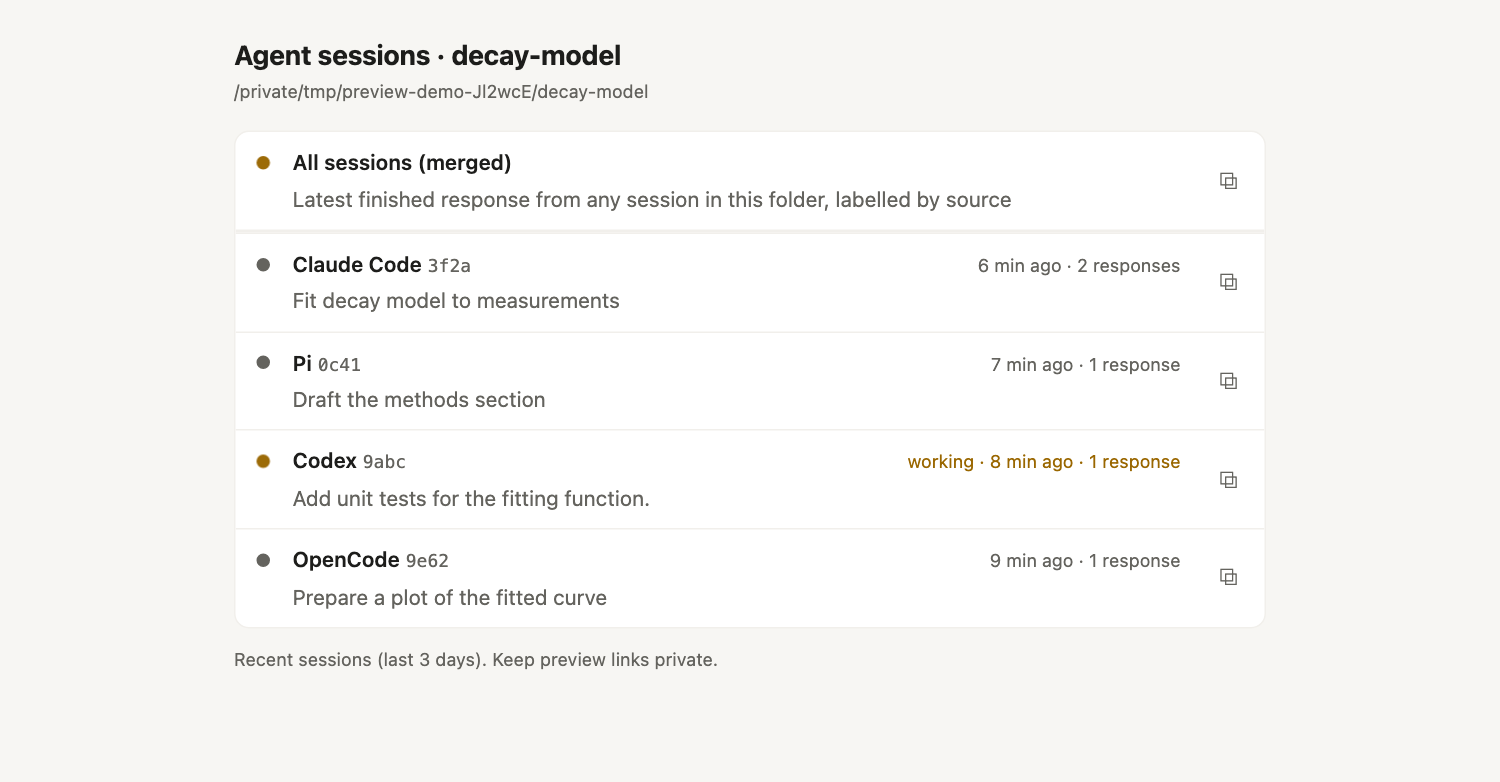
The index covers sessions active in the last three days, up to eight per agent. All screenshots on this page use synthetic sessions and can be opened at full size.
Sessions across directories
Add --all to browse recent sessions across project directories, grouped by directory.
agent-markdown-preview --all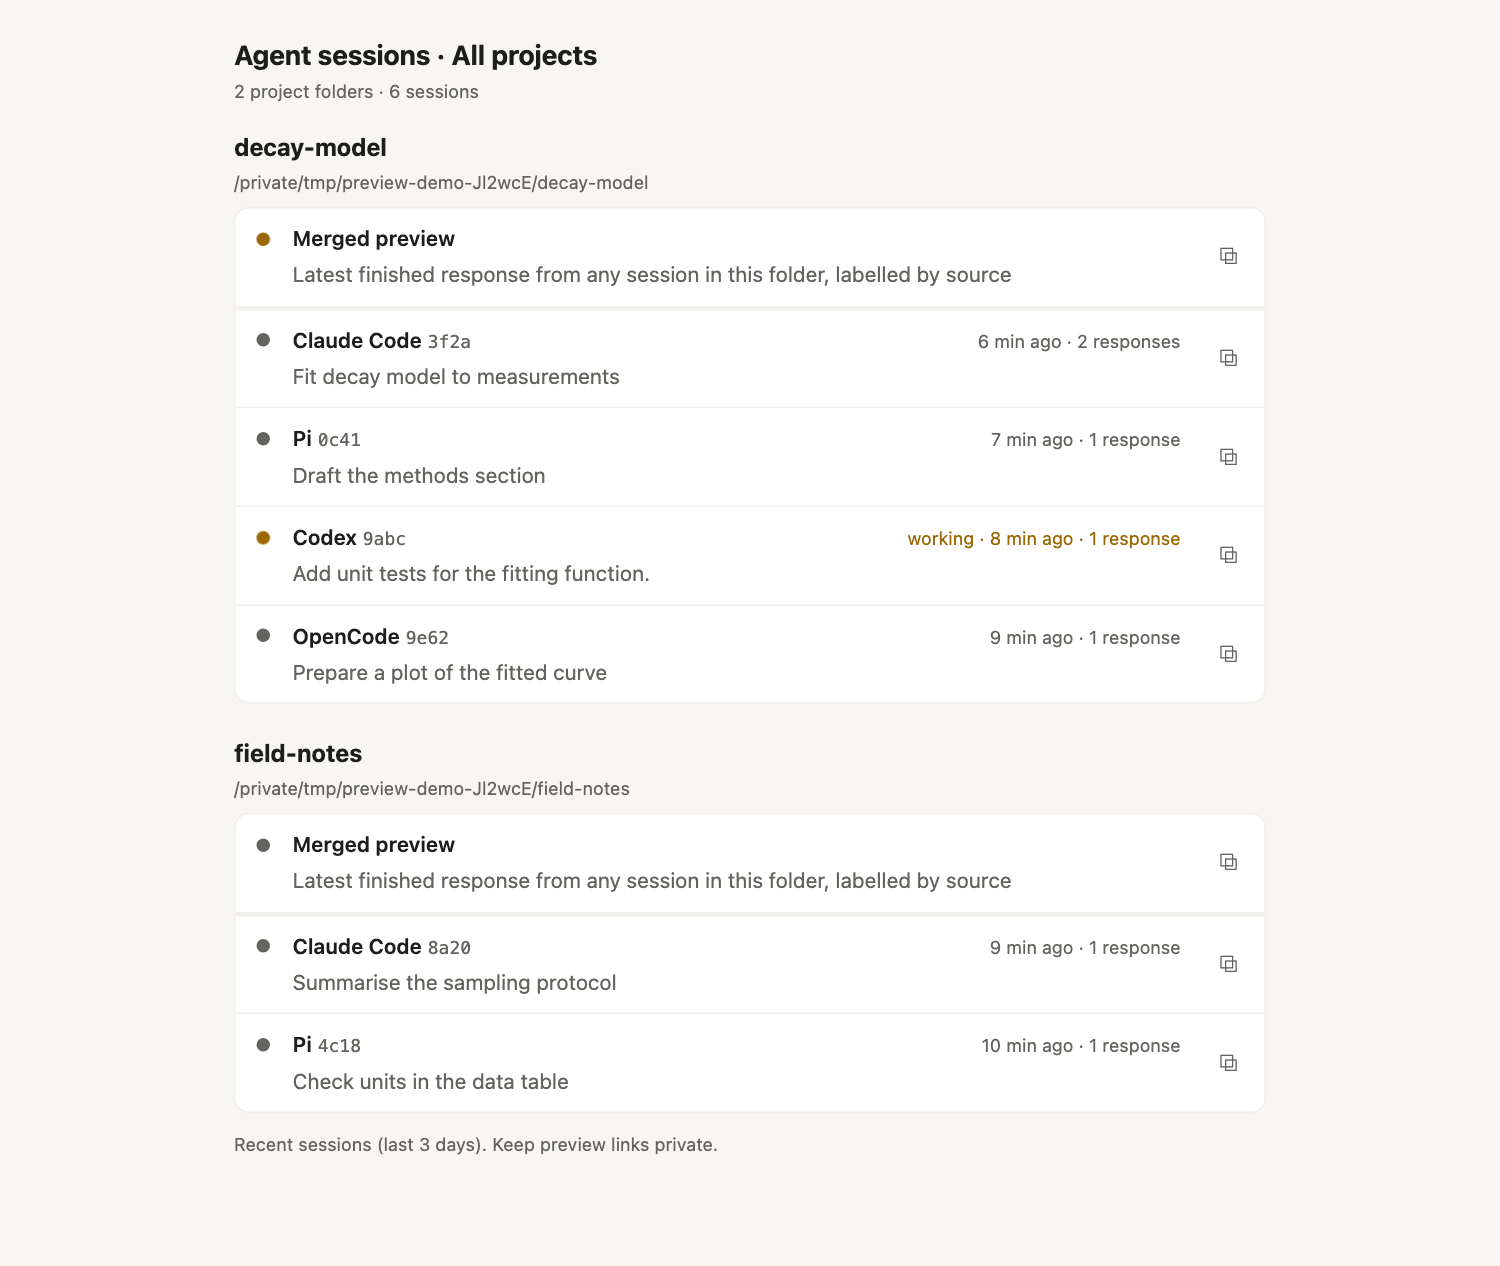
Each directory has its own merged preview. Across directories, the index follows up to 64 sessions in total.
Rendered responses
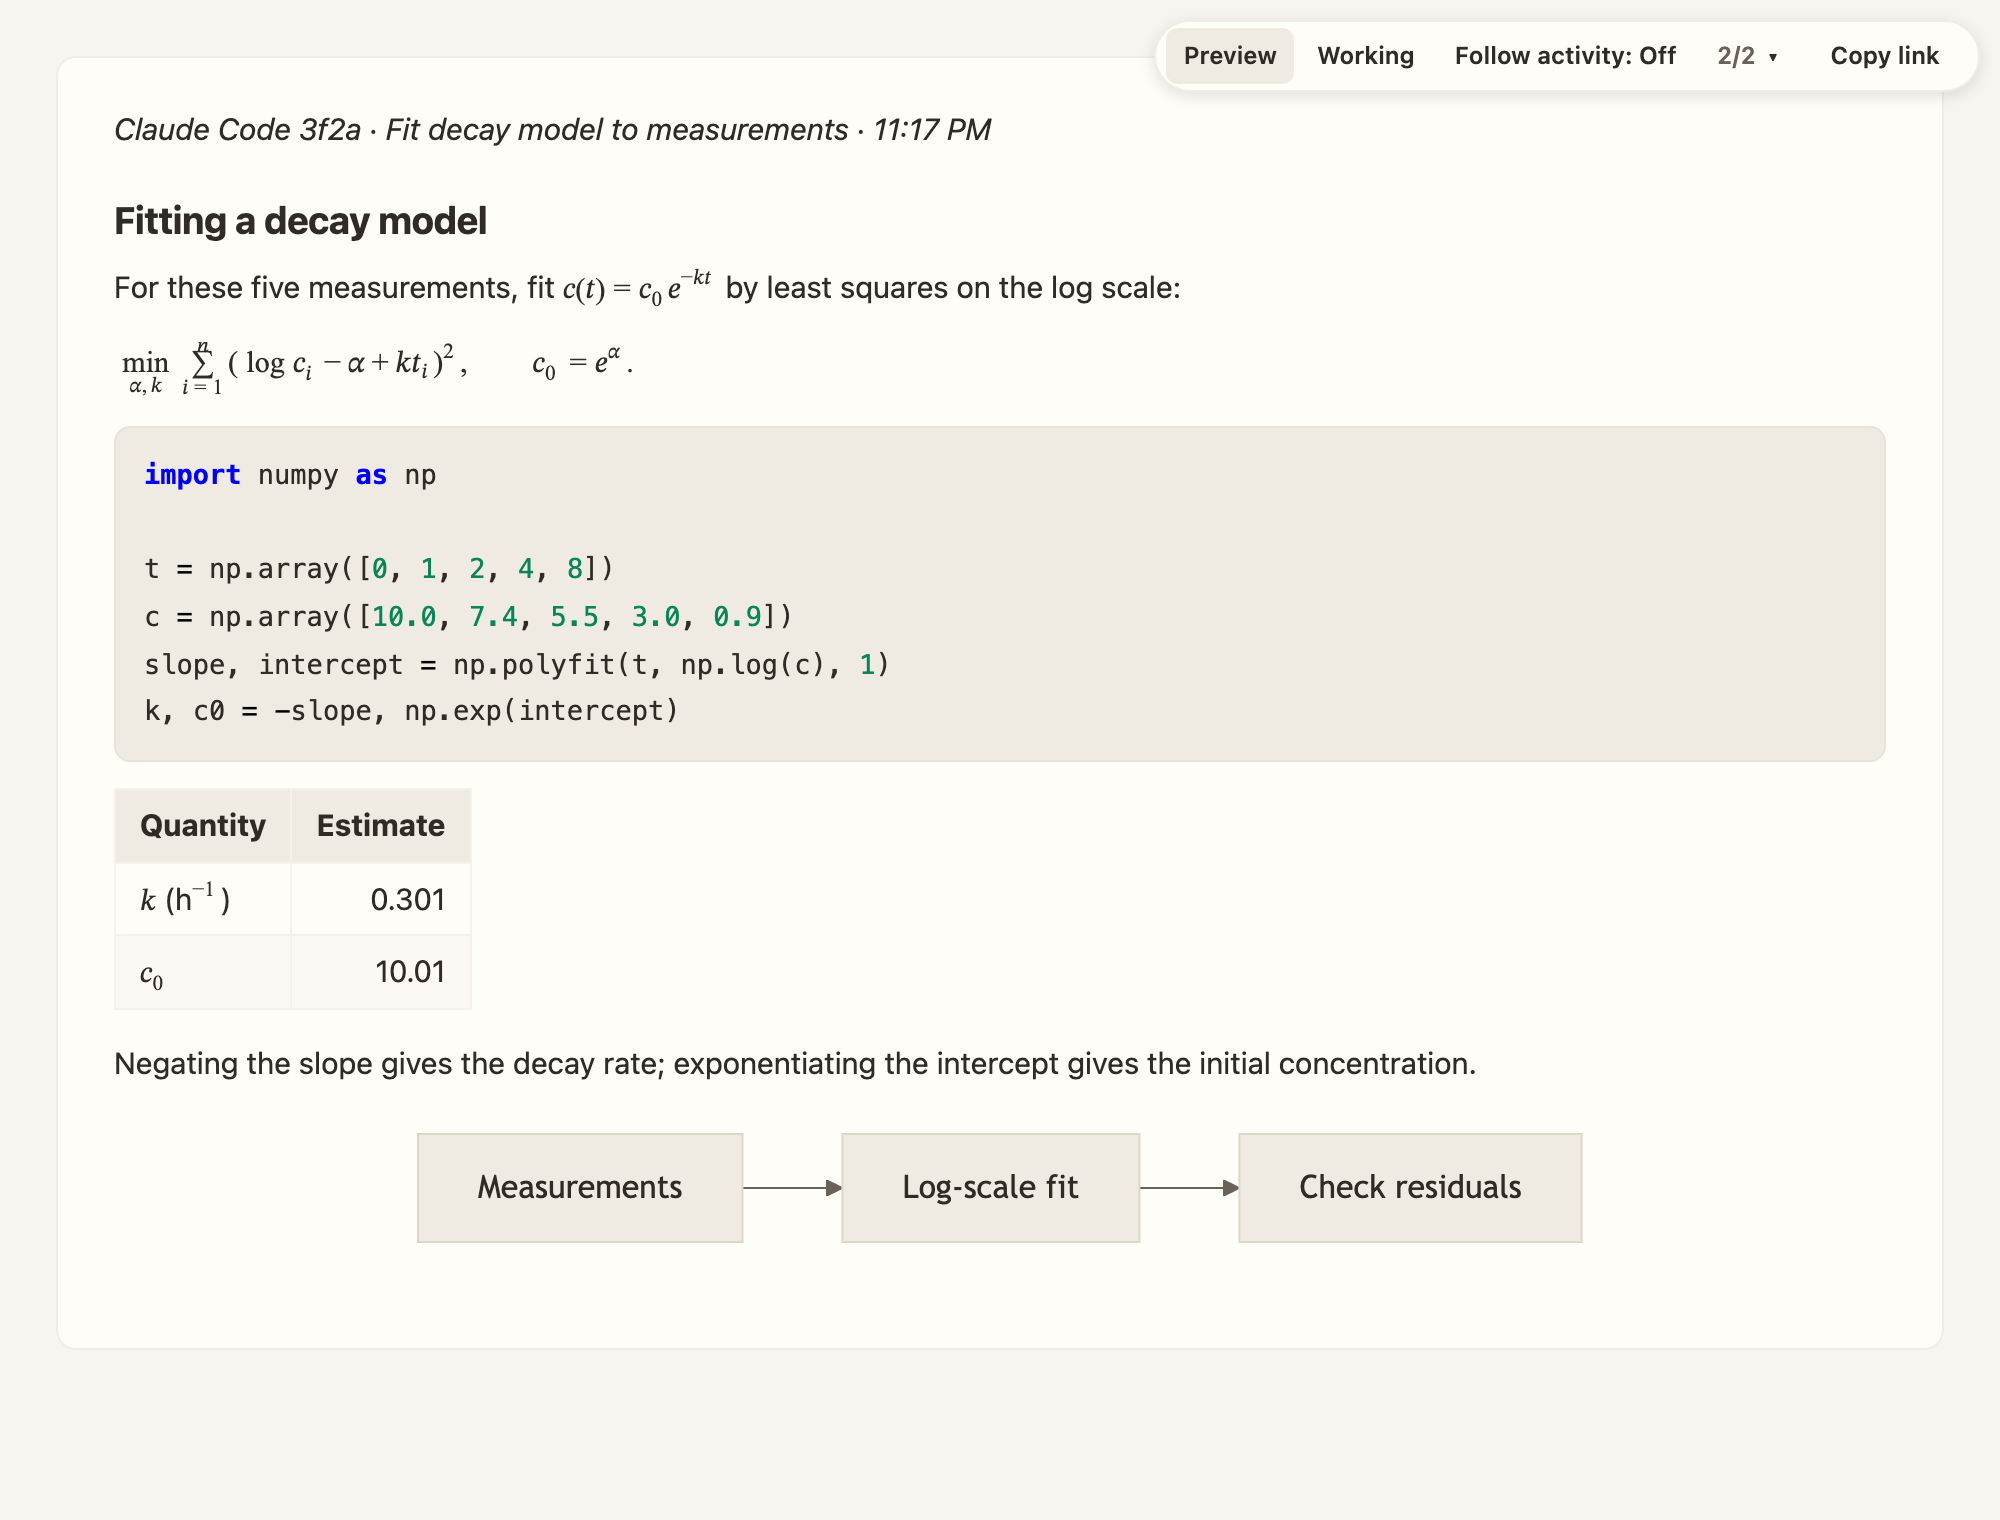
The response view renders equations, code and diagrams in the agent’s answer.
Themes
Responses use each agent’s colour palette and follow your system’s light or dark setting by default. The session index and file previews use a neutral palette. Choose a shared theme with --theme, or fix the appearance with --appearance.
agent-markdown-preview --theme neutral --appearance darkLight
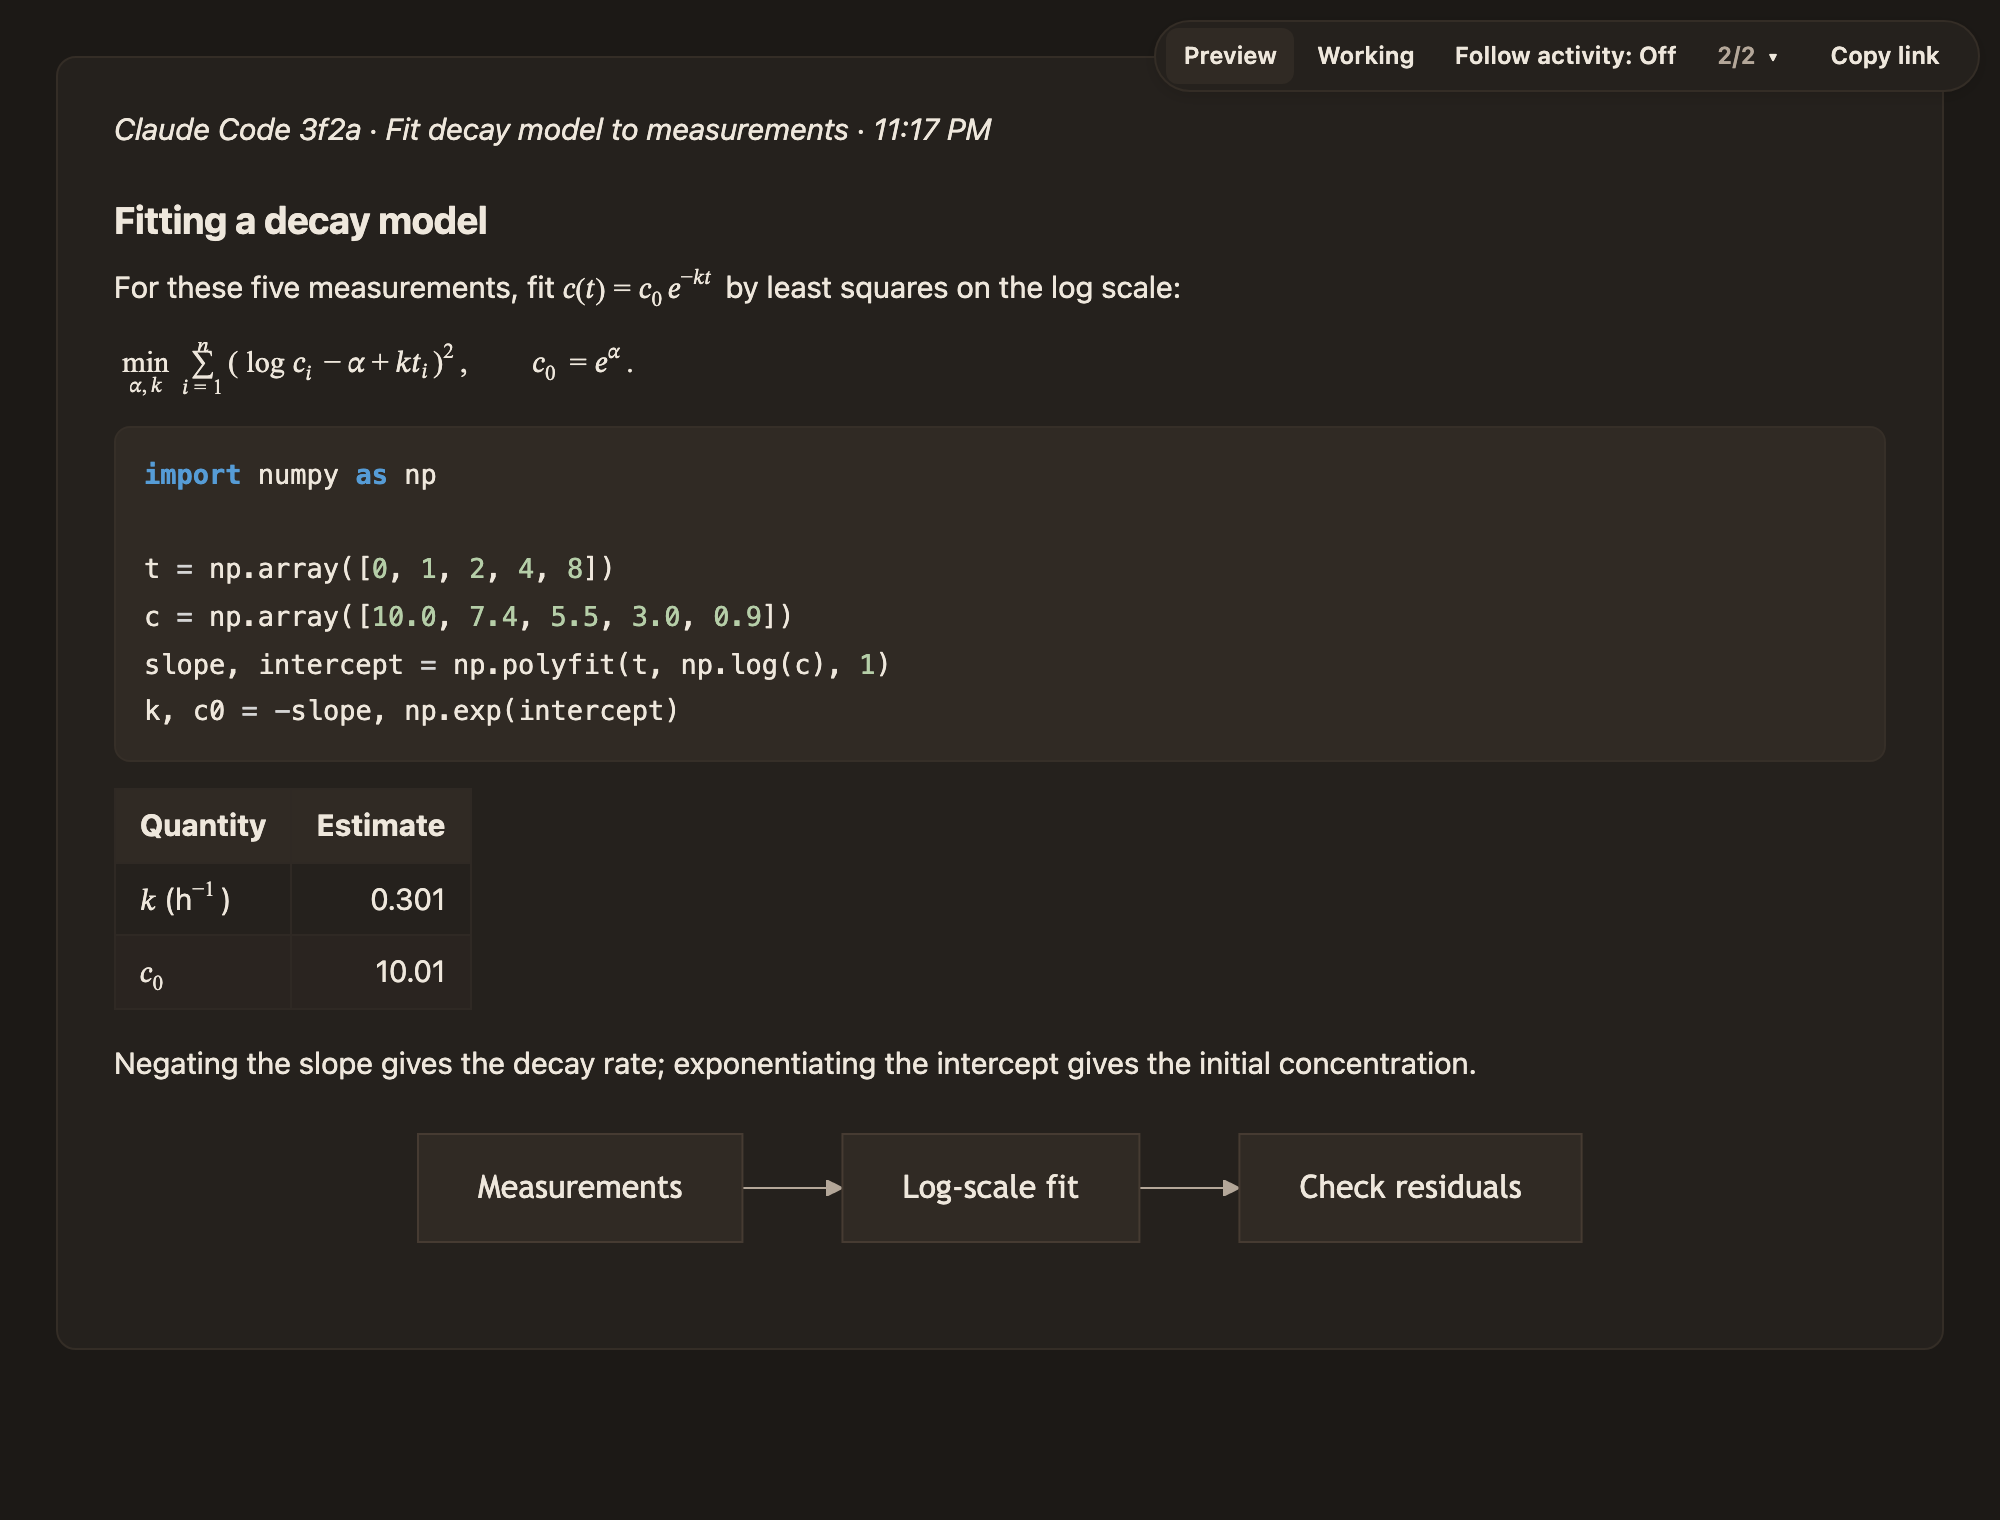
Dark
To change the palette for one agent, use a per-agent override:
agent-markdown-preview --agent-theme pi=pi-studioSee the theme documentation for more options, including custom Pi theme files.
Following a turn
Preview updates automatically as the agent finishes each turn, even without --live. The --live option adds in-progress activity in Working. With Follow activity enabled in the toolbar, the page switches from Preview to Working when a turn starts, then returns to Preview when it finishes. Working shows the recorded prompts, tool calls and results.
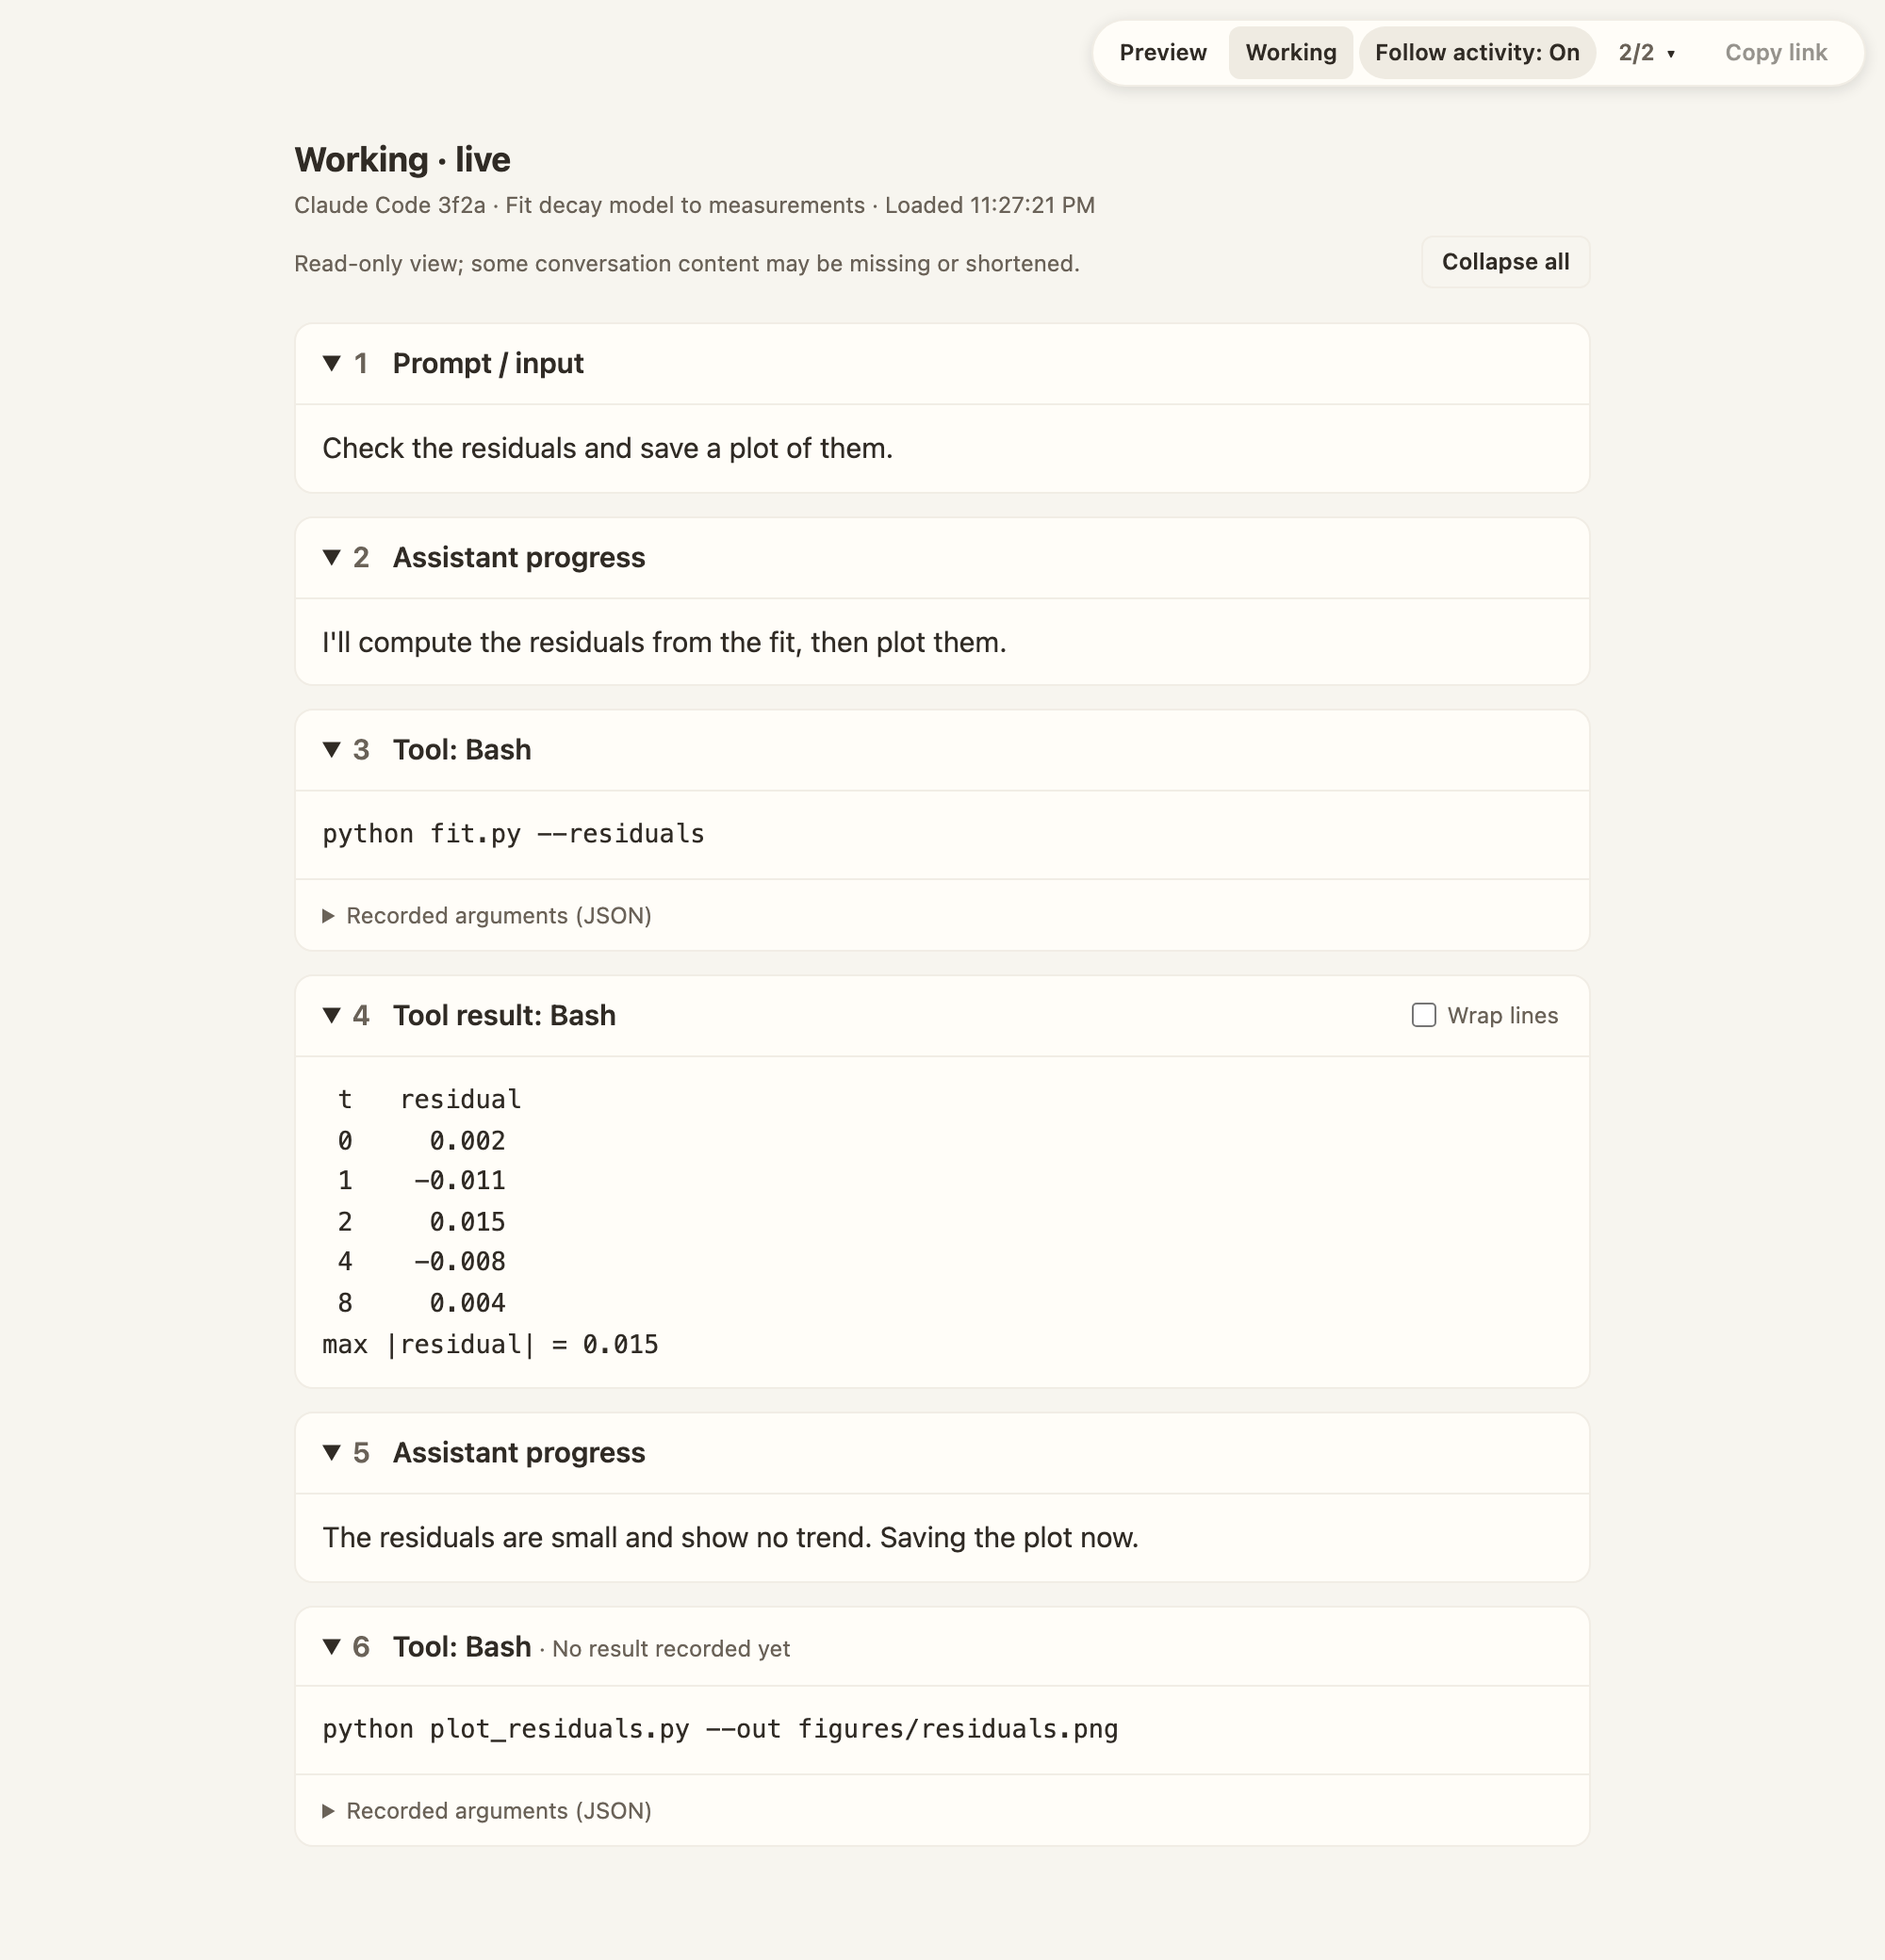
In this example, one Bash call has a recorded result while the next is still waiting.
Installation
You need Node.js 22 or later and Pandoc. OpenCode sessions require Node.js 22.13 or later.
npm install -g agent-markdown-previewFrom the project directory where you are working with an agent, run:
agent-markdown-previewThis opens an index of the project’s recent agent sessions. Open a session to read its responses as they are completed. To switch to Working during each turn and back to Preview afterwards, add --live and turn on Follow activity.
For a local Markdown, LaTeX, code or diff file, pass its path to the command.
Anyone with a preview link can read its content and use its file actions, so keep these links private. See the security notes and full documentation for details.
Optional shared REPL demo
The REPL page is enabled with --repl and reads recorded submissions from agent-repl, pi-repl or Pi Studio sessions. It shows submitted code and saved plots without running code.
agent-markdown-preview --replThe REPL page updates code and results as they are recorded, independently of --live. Add --live as well if you want to follow the agent’s in-progress activity in Working.
The video below shows Pi and Claude Code sharing a Python session with an operator.
Pi plots a Lorenz trajectory, the operator adds a nearby trajectory, and Claude Code uses both to plot their separation.
The one-minute video is silent and runs in real time, with automated typing. Internal metadata has been redacted for this recording, but live previews do not redact content.
Open video Python example Shared REPL setup
Details of the demo
The imports and Lorenz function are loaded before filming. The Python example includes that setup.
- Pi integrates a Lorenz trajectory, stores it as
aand plots the attractor. - The operator sends
b = odeint(lorenz, [1.0001, 1, 1], t)with!agent-repl-py, from Pi’s shell mode. - Claude Code uses
aandbto plot how their separation grows. Both plots appear inline on the REPL page.